Google Pixel phones let you capture quality photos even though it has only a single rear camera setup. Even better, you can improve your shots after it was taken. However, the higher the quality of a photo has, the higher phone space it will consume. After taking many photos, your phone might run out of storage and you wonder how to free up some space. Good news is you don’t have to delete them, you just have to transfer photos from Google Pixel to computer. Hence, here are our top three tools which will enable you to move your photos from your phone to computer easily.
Practical Ways to Transfer your Pixel Photos to PC
AirMore
This a free file transfer app designed to help Android and iPhone devices move files to PC wirelessly. This means you can transfer photos from your Pixel phone to computer even without using a USB cable. This app comes with an easy-to-use interface which allows you to transfer photos without any complicated setup. This enables you to transfer photos, videos, documents, music and other media files in an instant. Moreover, if you want to stream videos and pictures to PC, you can do so with its multimedia player. Thus, you don’t have to transfer files just to watch your favorite shows or movies in a wider screen. On the other hand, here’s how to transfer photos from Google Pixel to computer using AirMore.
- On your Pixel phone, download the app from Google Play Store.
- Then, open a browser on your PC. Type in web.airmore.com and enter the page. Make sure to connect both your phone and PC to the same Wi- Fi server.
- Launch the app on your smartphone and tap on “Scan to connect” then scan the QR code on your computer screen. A prompt will then appear on your phone, simply tap “Agree” to connect successfully.
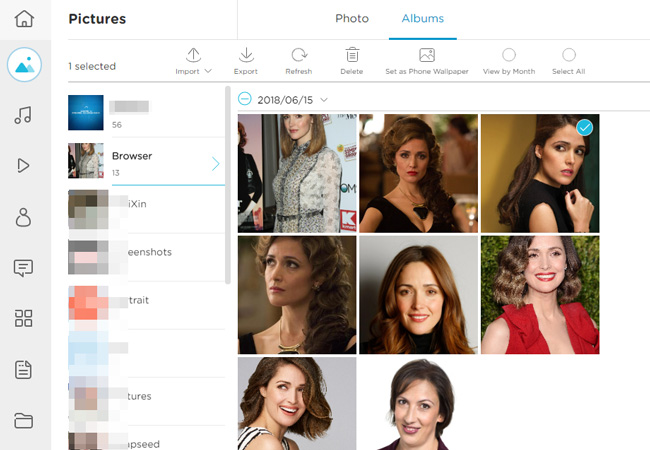
- Meanwhile, click the “Pictures” function on AirMore Web and select photos you wish to transfer.
- Once done, click the “Export” button at the top part left corner and choose your desired location on your PC to save your photos.Note: Remember the transfer speed depends on the speed of your Internet. So, if you transferring large files, you need to have a reliable internet connection.
iSkysoft Phone Transfer
You can also transfer photos from Pixel 3 to computer using iSkysoft Phone Transfer. Contents such as contacts, SMS, photos, movies can be transferred to PC using this program. With this, you can create a backup of your valuable content without worrying about data loss. However, in some cases, it is having hard time recognizing the connected Android smartphone to your computer. Nevertheless, you can easily transfer photos with its user-friendly interface. To transfer photos using this program, here’s a brief guide to follow.
- Install iSkysoft Phone Transfer on your desktop and launch it afterwards.
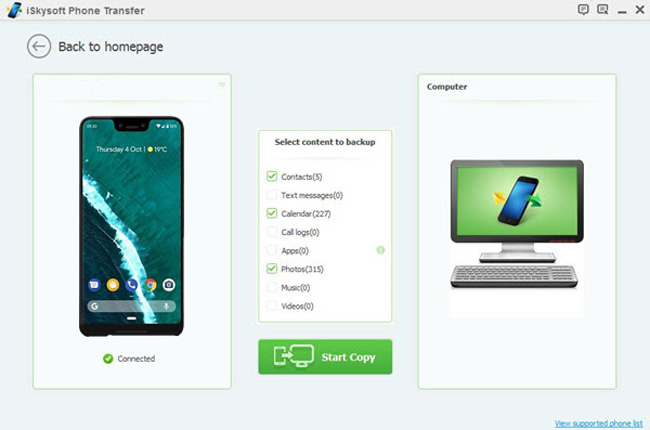
- Click “Back up Your Phone” to launch the backup window.
- Connect your phone to PC via USB cable. You will then see the information of your device after the connection.
- From the selection, mark “Photos” with check to copy all your photos to PC and click on “Start Copy” button to transfer.
Dr. Fone – Transfer
Dr. Fone is another alternative you might consider. It also comes with an easy-to-navigate interface which enables users transfer photos to PC without any hassle. This app supports Android and iPhone devices as well as PC running Windows and Mac. Its trial version, however, allows you transfer a total number of 10 data for each file type. Yet if you registered for a premium account, you can transfer files to PC without limit. So, if you want to learn how to transfer photos from Pixel 2 to computer with this app, below is simple instruction you can follow.
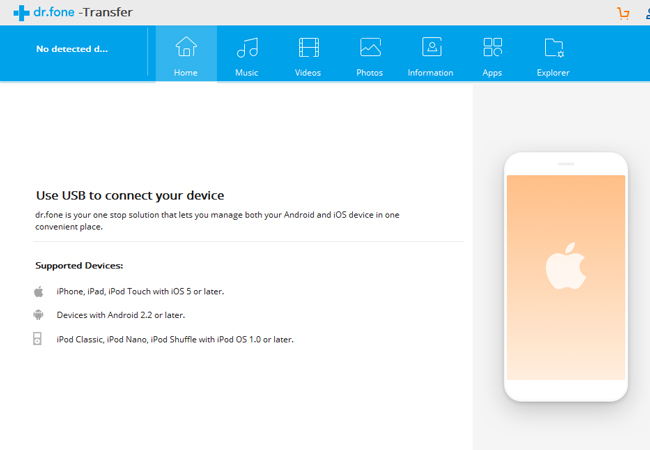
- Download and install Dr. Fone on your computer.
- Launch the app on your PC and click the “Transfer” button.
- Connect your device to PC with a USB cable and then allow USB debugging.
- Once connected, click the third option which says “Transfer Device Photos to PC” and choose a location where you want to save your photos.
- After that, a window will then appear. Click the “Open Folder” to preview them. On the other hand, click the “OK” button to close the panel.
Conclusion
Still, if you can’t decide which one to use. Allow us to sum up it for you. AirMore lets you share files your files between your phone and computer wirelessly and keep your media content confidential. Meanwhile, iSkysoft Phone Transfer and Dr. Fone allows you to easily transfer files with a USB cable. So, if transferring wirelessly is more convenient for you, then go with AirMore. Otherwise, you can opt to iSkysoft and Dr. Fone if you want to transfer photos even without an internet connection.
Leave a Comment