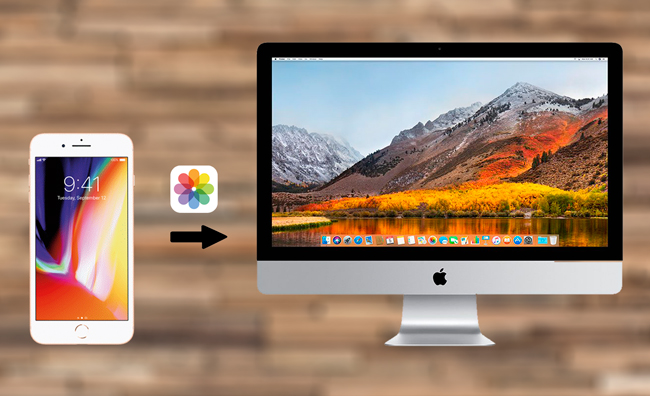
Along with Apple Inc. unveiled a series of iPhones including the latest iPhone X, iPhone XS, and iPhone XS Max equipping with 12MP rear camera and greater memory, an increasing number of users prefer to take photos using their iPhone every day. In fact, 12MP camera handles quality photos on daily needs fairly well. Many people tend to put photos to PC or Mac for future viewing or sharing with friends. However, they may also be impeded in transferring their photos from iPhone to Mac. You may get stuck in the complicated process of iTunes. Now, this essay will guide you through the process with two much simpler methods help you transfer photos from iPhone to iMac wirelessly.
AirMore – an efficient and safe file transfer tool
This handy tool is one of the best mobile devices management tools available on the market right now. With this professional and safe management tool on the web, you’re able to transfer photos to PC or PC and vice versa with just a few clicks wirelessly. You don’t have to sign in your personal account or provide things related to your personal information. What you need to do is just scanning QR code to connect. Let’s see how to use this wonderful tool to transfer iPhone photos to iMac.
- Download and install AirMore on your iPhone from the App Store.
- Go to AirMore Web and a QR code will show up on your browser.

- Open scanner on the AirMore app on your iPhone to scan the QR code and tap “Agree” to connect successfully.

- On the AirMore Web, head to “Pictures” > “Camera Roll” and choose the photos that you want to transfer, then hit “Export” to save them to your Mac.

In a short while, you will find these photos have been transferred to your Mac efficiently. Certainly, the transfer speed also depends on the size of your photos and the situation of the network.
Tips: Please make sure that your iPhone and Mac are connected to the same WiFi network. Only in this way can you transfer pictures from iPhone to MacBook. In addition, you’d better not reload the webpage during connection, or you have to reconnect.
iCloud – transfer photos automatically
As iCloud is iOS devices’ cloud storage tool, it allows you to store every photo and video you take, thus you can download your iPhone’s photos at iCloud.com on iMac. Let’s see how to transfer photos from iPhone to iMac with iCloud.
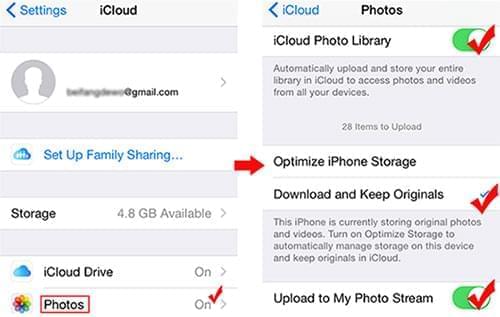
- Please connect your iPhone to network. Open “Settings” > “iCloud” and then sign in your account. Create a new Apple ID if you don’t have one.
- Hit “Photos” under iCloud to keep the iCloud Photo Library and related options on.
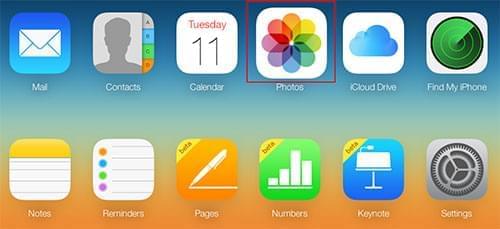
- Sign in the same Apple ID at iCloud.com on your Mac and find the “Photos” icon.
- Double-click the icon to view all the photos uploaded to iCloud and then download photos that you want to transfer to you Mac.
After several minutes, your photos will be transferred to your Mac successfully as long as the network is smooth.
Pros:
All your photos can be uploaded to iCloud automatically and completely.
Cons:
- You must sign in your Apple ID if you want to transfer iPhone photos to your Mac, which is a little inconvenient.
- It’s unsafe. Remember the news that iCloud was hacked and phones were licking. You may have the same risk if someone steals your personal account and password.
- With a limited 5GB storage, you’re not able to store many photos especially when you also have other files on iCloud, which may lead to the failure of transfer.
Conclusion
From the detailed introduction above, we know that you can use both tools to facilitate the transfer process. While taking into all aspects into consideration, AirMore will be your better choice to transfer photos from iPhone to iMac.
- It’s free and doesn’t have the limit of storage.
- It’s very safe because it never refers to your personal account and privacy.
- This app also allows you to transfer and manage other files on your iPhone on the Web, such as documents, music, videos and so on.


Leave a Comment