
The most powerful iMac Pro that Apple has ever made was released in the market on December 14, 2017. The new iMac Pro supports the Intel Xeon processor with up to 18 cores, which acts as the brain of the computer. It is equipped with 32GB memory and 1TB SSD storage to store your data continuously. Furthermore, it comes with a slim and ultra-thin bodied design and is space gray in color. In case some users already switched to iMac Pro and need to move data to iMac Pro from the other devices, we will teach you how to transfer your files easily and rapidly.
Transfer Files to iMac Pro from All Your Devices
1. Transfer Files with AirMore
Sending files from your phone to iMac Pro and vice versa is just a piece of cake using AirMore. This is a wireless tool which allows users to transfer data such as photos, videos, music documents, etc. It also enables you to manage the mobile files. Apart from that, you can view your mobile photos, watch phone videos, and stream music directly on your computer. Here are the detailed steps to transfer files from phone to iMac Pro.
- Head up to your iMac Pro browser and visit AirMore Web.
- Install the app on your Android or iPhone, and open it.
- You can connect your phone to your computer via QR Code, Radar or IP connection. Using QR code as an example, tap the “Scan to connect” button to scan the QR code on your computer, and it will establish the connection.
- Once done, go to each tab to view your phone data and you can choose the files stored on your phone and transfer them to your computer.


2. Transfer Files with Windows Migration Assistant
If you change your Windows PC to iMac Pro, the first thing you want is to copy files from Windows to iMac Pro. Thus, you can use the Windows Migration Assistant.
Below are the steps to follow.
- Connect your Windows and Mac to the same Wi-Fi network and make sure that your Windows is up to date.
- Install the Windows Migration Assistant on your PC and close all the apps open on your Windows PC.
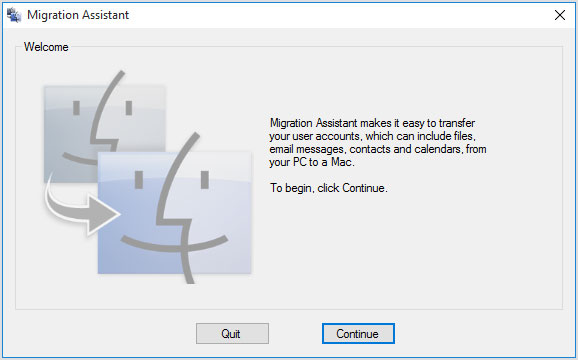
- After that, launch the Windows Migration Assistant and then click the “Continue” button.
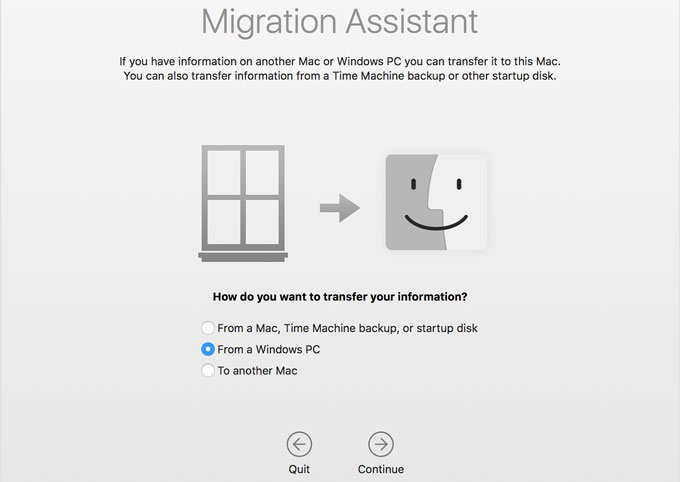
- On your iMac Pro, launch the Migration Assistant and close any other apps. Choose “from a Windows PC” when you are asked where you want to transfer files.
- Afterward, enter the name and the password of an administrator and click “Continue”.
- Select your PC name on your iMac Pro and wait for the passcode to display on your PC, which is the same as on the iMac Pro.
- Click the “Continue” button to enable your Mac to scan the drives on your Windows.
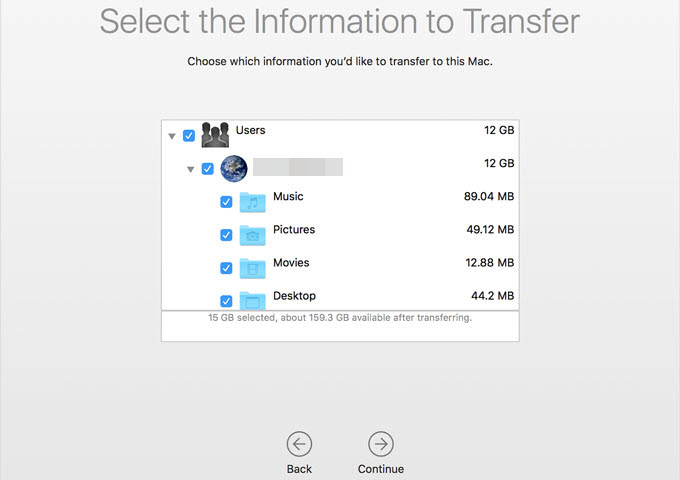
- Once completed, choose and move data to iMac Pro.


Files that can be transferred:
Photos, bookmarks, iTunes music, iTunes movies, iTunes library files, email, contacts, system settings, etc.
3. Transfer Files with Migration Assistant for Mac
If you are a Mac user and buy a new iMac Pro, you may want to get data from your old Mac to the new one. With the help of Migration Assistant on the Mac, you can easily copy all your data and move them to iMac Pro. Follow the steps below to learn how to transfer files from Mac to iMac Pro.
- Check that both Mac computers have the latest operating system and are in the same network.
- Once all set, you can start by simply launching the Migration Assistant on your iMac Pro and click the “Continue” button.
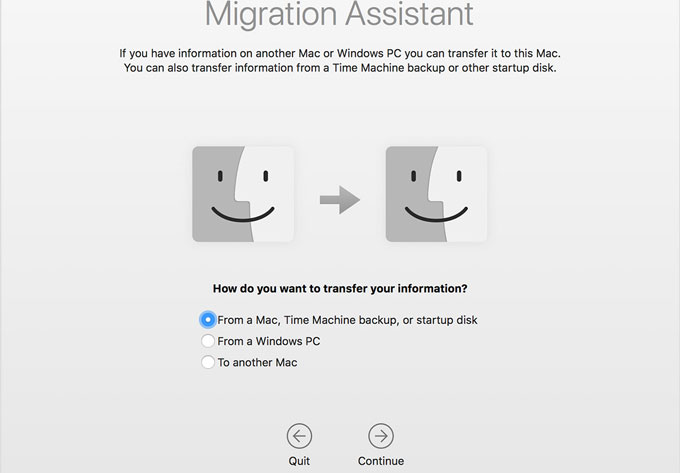
- On iMac Pro, choose “From a Mac, Time Machine backup, or startup disk” and hit “Continue”.
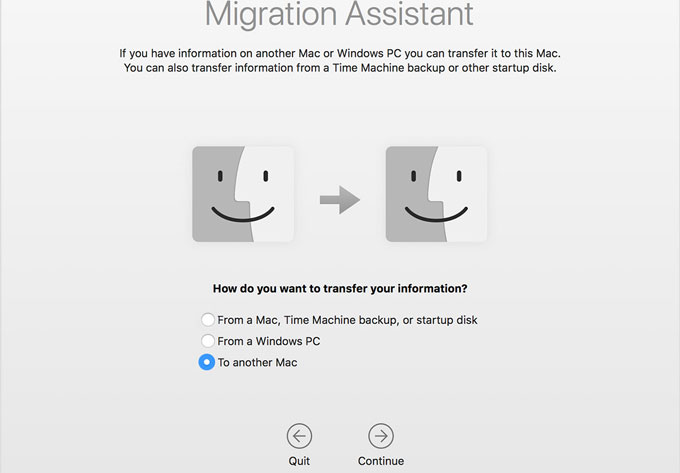
- On your old Mac, open Migration Assistant and click “Continue”. After that, select “To another Mac” and then “Continue”.
- On iMac Pro, choose your old Mac and click “Continue”. You may see a security code. If a security code appears, check the code if is the same as on the iMac Pro, and then click “Continue”.
- Once done, check the files you want and move data to iMac Pro.


Files that can be transferred:
Applications, user account, all files and folders, and computer settings.
Conclusion
There are many ways to do a Mac file transfer. Those stated above are some of the recommended techniques which you can use. Others may need to use a CD, portable media, shared file server, email and many more. Obviously, the methods mentioned above will need an internet connection to be able to transfer files successfully.
Leave a Comment