This generation can’t deny that we take pictures wherever we go. And then we don’t always realize how many pictures are stored on our smartphones. If you want to find out how to increase your storage space, dig deep into this article. Here, we’ve collected the reliable programs from different devices, platforms and web browsers. Besides that, we also provide some simple steps to create video from photos with ease.
Solution 1: Create Video from Photos on LightMV
LightMV is a video editing program available on different web browsers, including Google Chrome, Safari, and Mozilla Firefox. This program offers an extensive collection of highly-customizable templates for multiple purposes that enable you to customize videos from pictures. Furthermore, it has efficient editing functions to enhance photos and videos easily. What’s more, it enables you to upload countless pictures to produce a stunning video. Besides that, it has a media library that offers royalty-free background music from different genres. Check the listed steps below to create a slideshow with music in just a few clicks using LightMV.
Features:
- Compatible with Windows/Android/iOS/Mac platforms.
- It has a smart and intuitive user interface.
- Provides extensive collections of video templates.
- Capable of adding a personalized logo to the video.
- Allows you to share videos with different social media platforms directly.
- Can save the video in Full HD quality.
User guide:
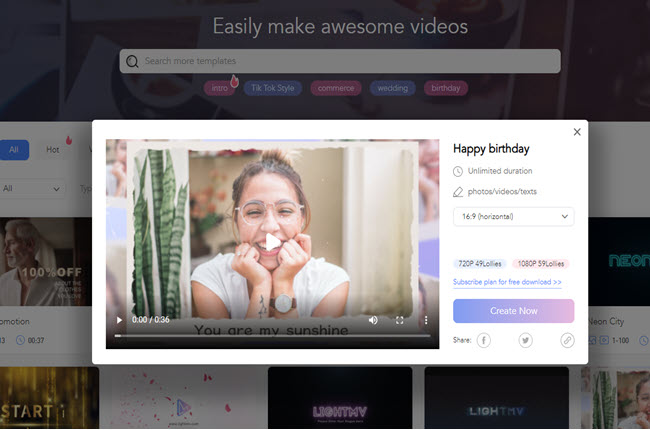
- Launch a web browser and go to the official website of LightMV. From here, click the “Get Started” button to access all the available templates.
- Then, choose your desired template to proceed with its editing function.
- Tips: Click the picture below to watch this awesome video template.
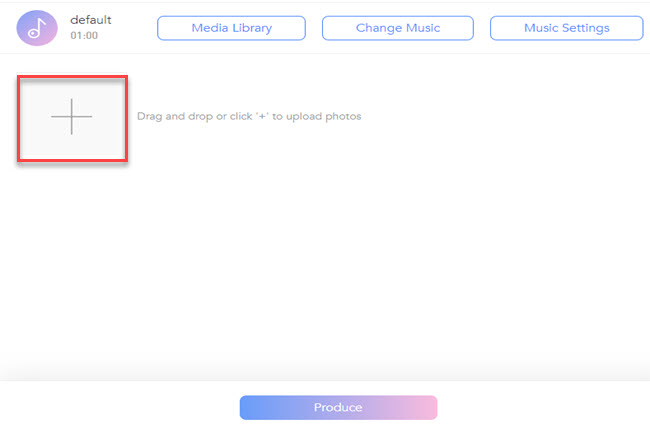
- After that, click the “+” button to upload all the photos you want to include in the video.
- Next, head on to the “Change Music” option and click the “Add music” button to import the background music you want to use.
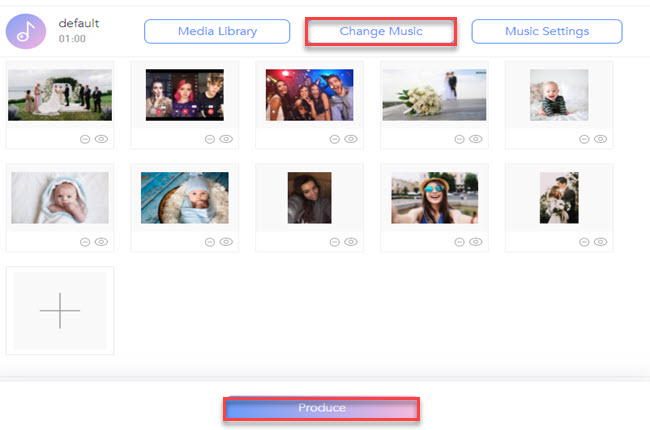
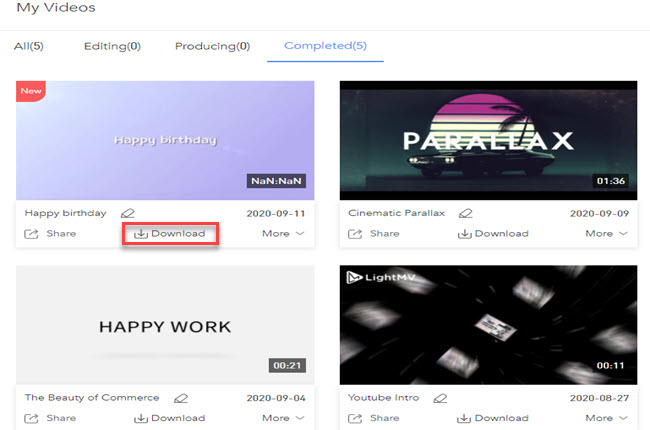
- Lastly, click the “Produce” button to render the video and click the “Download” button to save the video on your computer. And that is the easiest way to create a video with pictures using this program.


Solution 2: Create a Video with Pictures Online
If you’re looking for another online tool to create a video using your photos, here is Animoto. It’s also great for making tutorials, motivational, business promotions, and how-to videos. Moreover, its editing functions enable you to customize the video by adding text, music, effects, and a lot more. Not to mention, its media library provides royalty-free stock photos and clips. Also, you can save the videos to some of the popular aspect ratios from different video sharing sites. See the steps written below on how to create video from photos using Animoto.
- First, visit the website of the tool, then click the “Get Started Free” button.

- Second, select the template you want to use for the video.

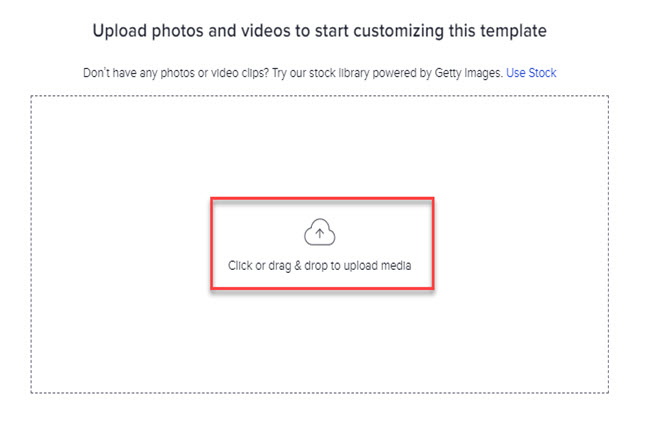
- Third, click the “Cloud” icon to upload the photos you want to insert in the video.
- Fourth, click the “Music” icon above to choose your desired background music to the video.
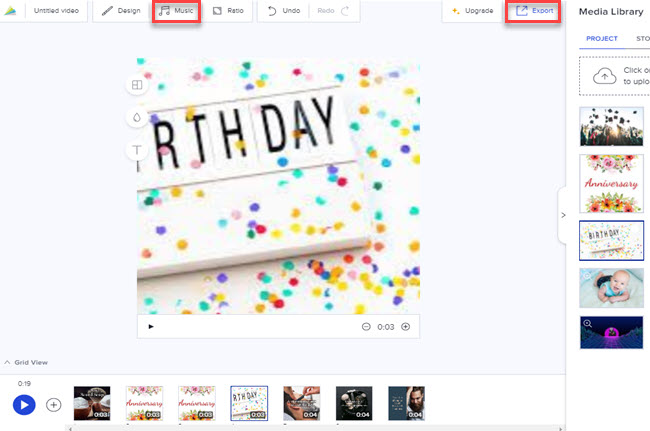
- Finally, click the “Export” button on the upper right corner of the tool to render and save the video.


Solution 3: For Windows 10 Users to Create Slideshow with Music
Next, we have Movie Maker. This is a built-in video editor for Windows users that enables you to create a video from your images. Furthermore, it has a simple and straightforward interface that lets first-time users make a video quickly. In addition, it has simple, yet effective video editing functions that you can use to improve the photos. Besides that, you can also insert background music and voice-over recording to the video. In fact, it enables you to upload pictures from the internet and computer directly. Check the guides below to create video from images using this built-in video editor by Windows.
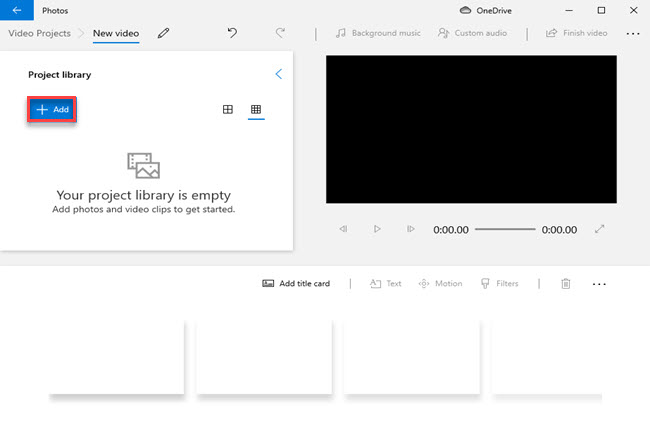
- To get started, go to the built-in “Photo” app of your Windows computer.
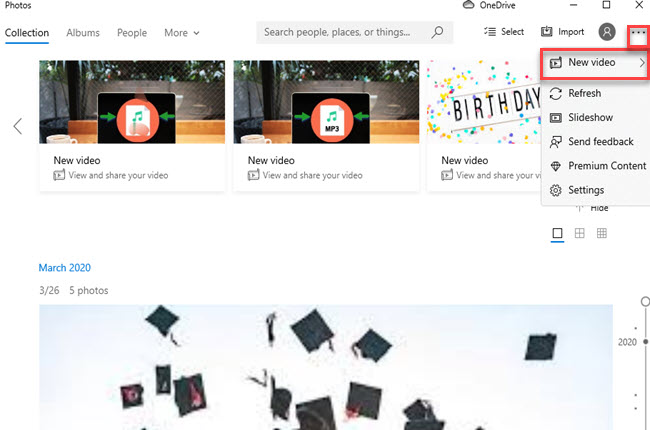
- Next, click the “Three-dot” icon and select the “New Video” option to proceed with its video editor.
- From here, click the “Add” button to upload the photos from your computer.
- After uploading the photos, go to the editing above the timeline pane to enhance the video.
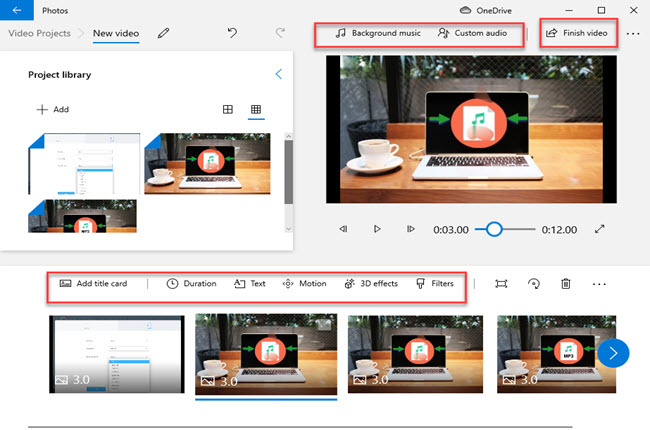
- Once done, click the “Finish Video” above to export and save the video on your computer.


Solution 4: Use Beecut to Create Video from Photos
Beecut is a full-featured video editing software that you can use for both Windows and Mac. It also offers a mobile version for both iOS and Android platforms. Using this software enables you to edit multiple timeline layers with images, text, audio, filters, and more. Moreover, it has high-end video editing functions that will allow you to split, cut, trim, and merge the video more precisely. Also, its text-to-speech features let you convert text into a voiceover in just a few simple taps. So if you’re wondering how to create a slideshow with music using this software, check out the steps below.
- Visit the official of Beecut to download and install the software on your computer. After installing, launch the app to use it further.
- Choose the desired aspect ratio for your video on its start-up.

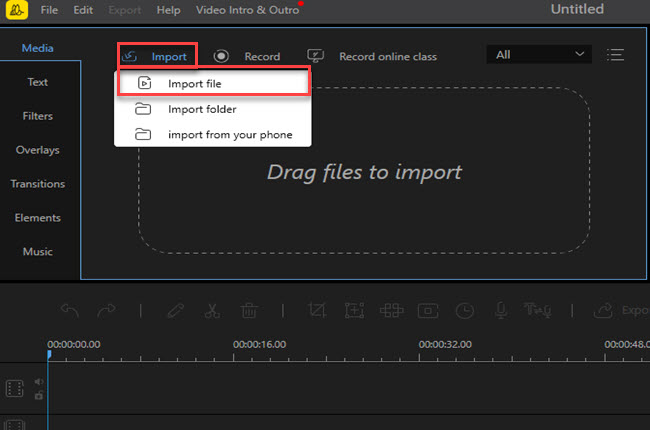
- On its main interface, click the “Import” button and select the “Import File” button to upload the photos and music you want to include in the video.
- Then, click the “+” icon to move the uploaded file on the timeline of the software. Go to the upper left part of the software to enhance the video by adding text, filters, overlays, etc.
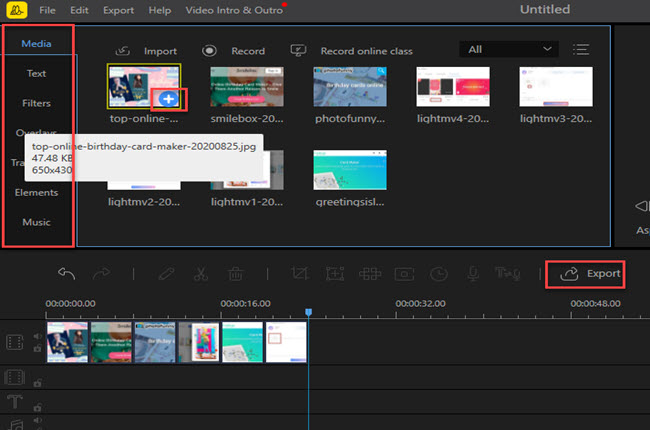
- To save the video on your computer, click the “Export” button above the timeline pane.


Solution 5: For Windows and Mac Users
Lastly, we have the Movavi Video Editor. This is another program to help with how to create a video with pictures. Aside from its professional video editing functions, it can record videos and screencasts without using an external application. Also, this software has a rich collection of different elements like transitions, stickers, titles, and callouts. Besides that, you can use its free downloadable photos, background music, and intro videos. Meanwhile, the created videos can be uploaded directly to different video sharing sites like YouTube, Vimeo, and even Google Drive. Follow the steps outlined below to customize the video using your photos.
- First and foremost, download and install the software on your computer by visiting its official website.
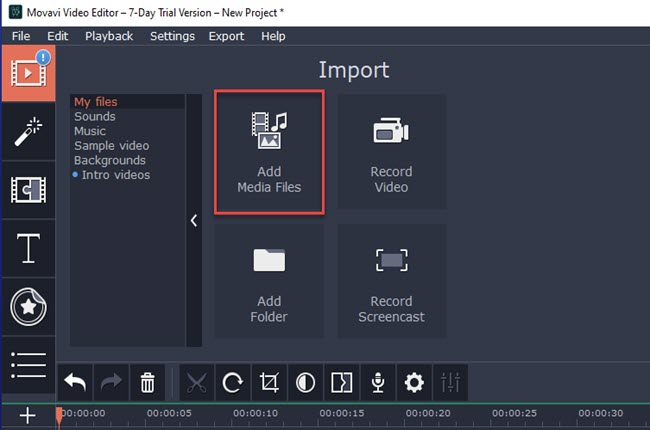
- Launch the app and click the “Add Media Files” on from its main interface to import the photos you want to use on the video.
- After uploading the photos, you can edit the video by selecting one of the editing functions on the left part of the software.
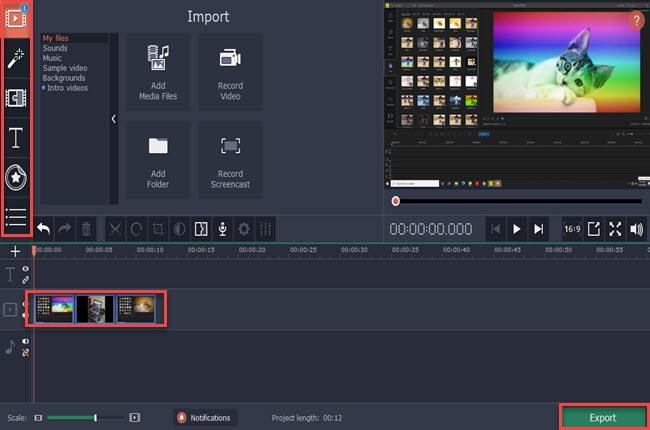
- Once done editing the video, click the “Export” button on the lower right corner to save the created video on your computer.


Conclusion
To sum it up, these are the best video editing programs that can help you with how to create videos from images. Furthermore, we’ve also provided a simple guide to help you get started with each tool. From the tools introduced, LightMV is the most recommended program because of its highly-customizable templates for multiple purposes. Also, this enables you to produce Full HD quality video the same as the listed tools above. For more suggestions, feel free to comment down below.
Leave a Comment